

Getting started
Add your first site
Add a WordPress site to your dashboard, connect the plugin with its API key and secret, and finish the two short setup steps that follow.
Applies to: All plans
Adding a site takes two screens in the dashboard and one in the site's wp-admin. If you are connecting many sites, the account token is quicker.
Add the site
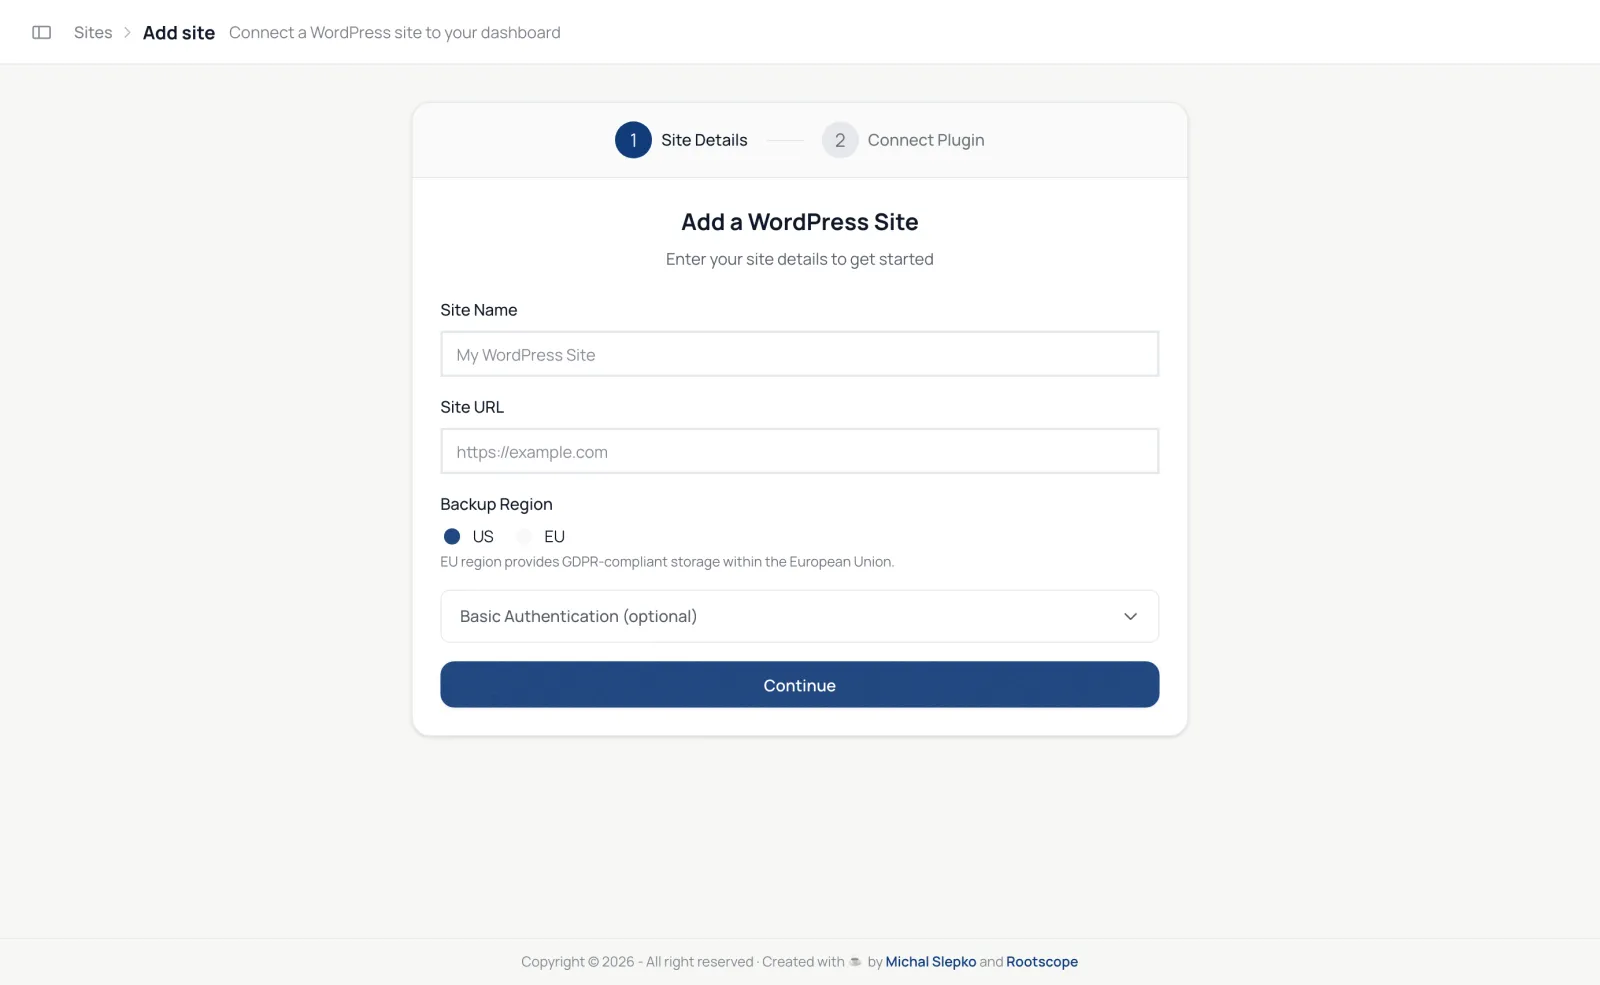
- Open Sites and click Add site.
- Enter a Site Name and the Site URL.
- Choose a Backup Region: EU keeps backups in the European Union, US in the United States.
- If the site is behind HTTP basic authentication, open Basic Authentication (optional) and enter its username and password.
- Click Continue. The next screen, Site Created!, shows the site's API Key and API Secret.
Connect the plugin
- In the site's wp-admin, install and activate RS Remote Site Manager from Plugins → Add New.
- Go to Tools → RS Remote Site Manager, paste the API key and secret, and click Save Credentials.
- Back in the dashboard, click Check Connection.
When the connection works, the dashboard opens the site's setup steps.
Finish setup
- Step 1 · Settings: pick a Client, the Default administrator for one-click login, and whether to Monitor this site, with a Check interval. Uptime monitoring is part of the paid plans.
- Step 2 · Backups: switch on Back up this site automatically, choose how often, and pick the Storage location. Scheduled backups are part of the paid plans.
Click Finish setup, or Skip setup for now and come back from the site's Settings tab.
If you reach your plan's limit
Paid plans cover a set number of sites. If you are at the limit, the form says so and suggests a bigger plan or removing a site first. What each plan includes lists the limits.